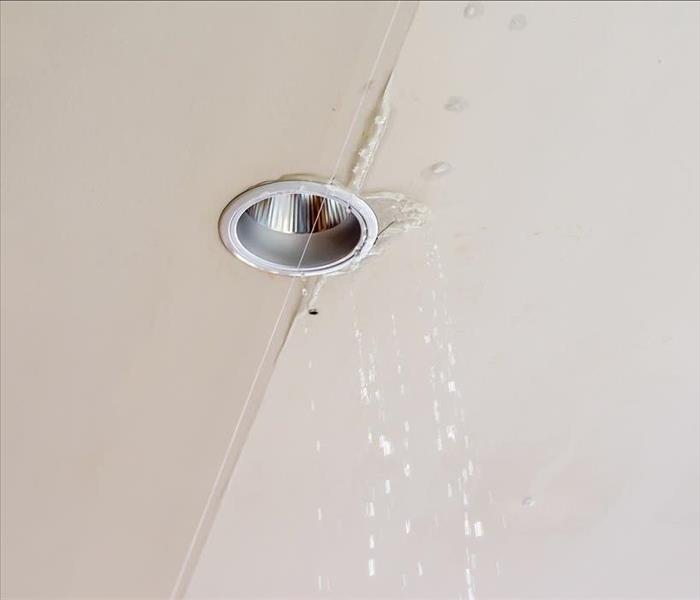
What Is the Best Way To Deal With Water in a Light Fixture?
5/23/2020 (Permalink)
Follow These Four Step Process
You may need a water mitigation company in West Miami, FL, to help you repair leaks causing water in light fixtures, but sometimes you can fix the damage yourself. However, keep in mind that water and electricity create a dangerous combination, so when attempting a DIY repair, follow this four-step process.
- Turn off the power
- Shut off the water
- Expose the ceiling
- Repair damage and restore the property
Turn Off the Power
If possible, shut off the power only to the affected area. However, if you do not know how many light fixtures are affected, turn off the power to the entire home. Turning off the electricity protects you against electric shock, but it also limits damage to your home's electrical system.
Shut Off the Water
To avoid any unnecessary ceiling damage, turn off the water supply to the area. Sometimes, it is not apparent where the water leak is, so you may need to shut off the water main to your home, limiting further hazards.
Expose the Ceiling
Remove all the water in light fixtures, but before returning them to the ceiling, expose the ceiling structure to locate the water damage and source of the leak. If you cannot find the leak, consider calling in a professional, and explain your situation.
Repair Damage and Restore the Property
With the ceiling open, repair all plumbing issues. Once you fix the pipes, you can check the wiring for damage and repair what is necessary. Finally, you can restore the ceiling and reinstall the light fixtures. However, before closing the ceiling, make sure and test your plumbing and electrical repairs.
While no homeowner wants to find water in light fixtures, it happens. The sight is shocking, but you can repair the damage. However, if you are not confident in your DIY abilities, or the job is too complicated, consider hiring a restoration company for the repairs.


 24/7 Emergency Service
